Your Family’s Nature Activities Await
Visit the Randall Davey Audubon Center and Wildlife Center for a hike, picnic, or new science adventure
By Meghan Baker
As the temperatures rise, wildflowers bloom, and monsoon clouds gather on the horizon, Northern New Mexico looks to the coming of summer. At the Randall Davey Audubon Center, it also means the start of our annual camp season. We believe that even though school may be out, the learning never stops. Summer provides an excellent time to explore our outdoors, connect with friends and family, and learn about the ecosystems around us.
Whether you are inside as the rains (hopefully!) pour down or outside enjoying the sun, we have prepared a list of some of our favorite camp activities to get your family excited about nature and art. These ideas are designed to be easily done at home, on the trail, or at the park. There’s always something new to notice, and these four activities will help you and your little ones experience more.
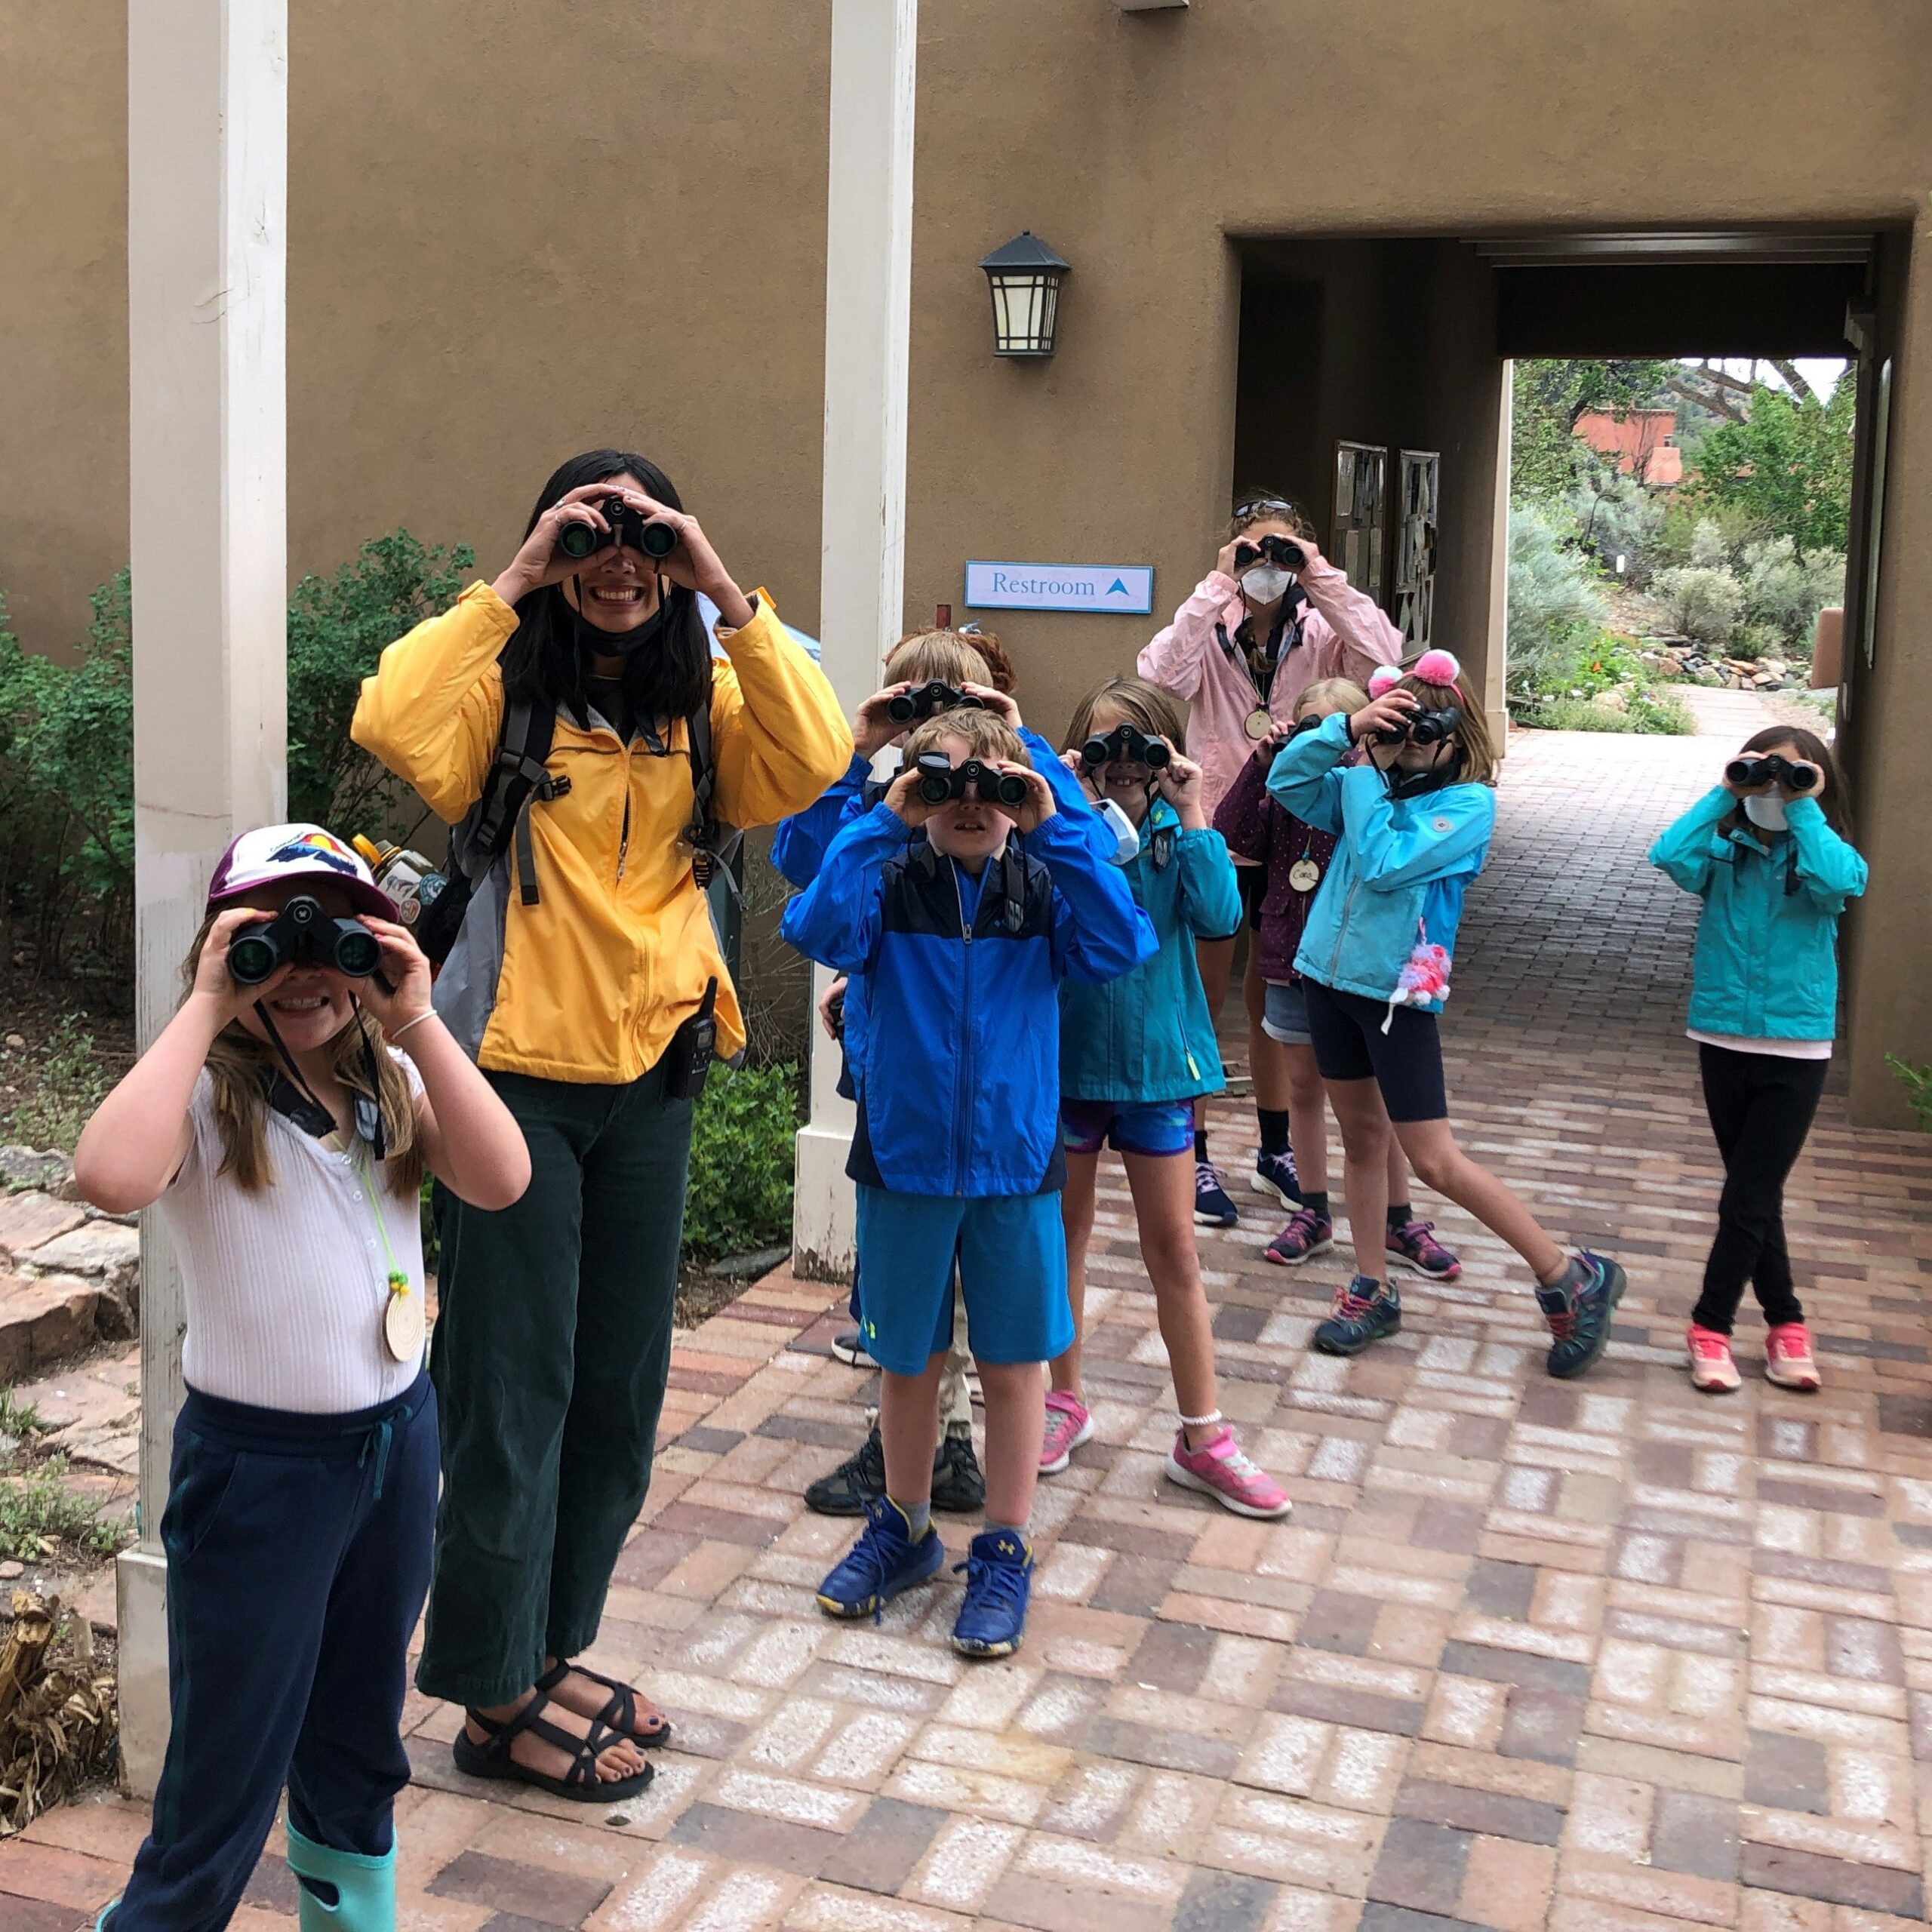
Our Nature Discovery Area is a fantastic place to play and spend the day outdoors. Located at 1800 Upper Canyon Road, the Randall Davey Audubon Center and Wildlife Center is a beautiful location for Santa Fe’s only nature center. With over 185 acres of protected habitat, and surrounded by thousands more in the National Forest and Santa Fe Watershed, the Audubon Center provides visitors and wildlife a peaceful haven in nature. Admission to the Audubon Center and grounds is free. Visit us between 8 A.M. and 4 P.M., Monday through Saturday. Volunteers are available in our visitor center to help answer questions, lend out binoculars and bird guides, and geek out about your latest science inquiry. For more information, please visit randalldavey.audubon.org.


Activity #1: Encourage Noticing with a Nature Journal
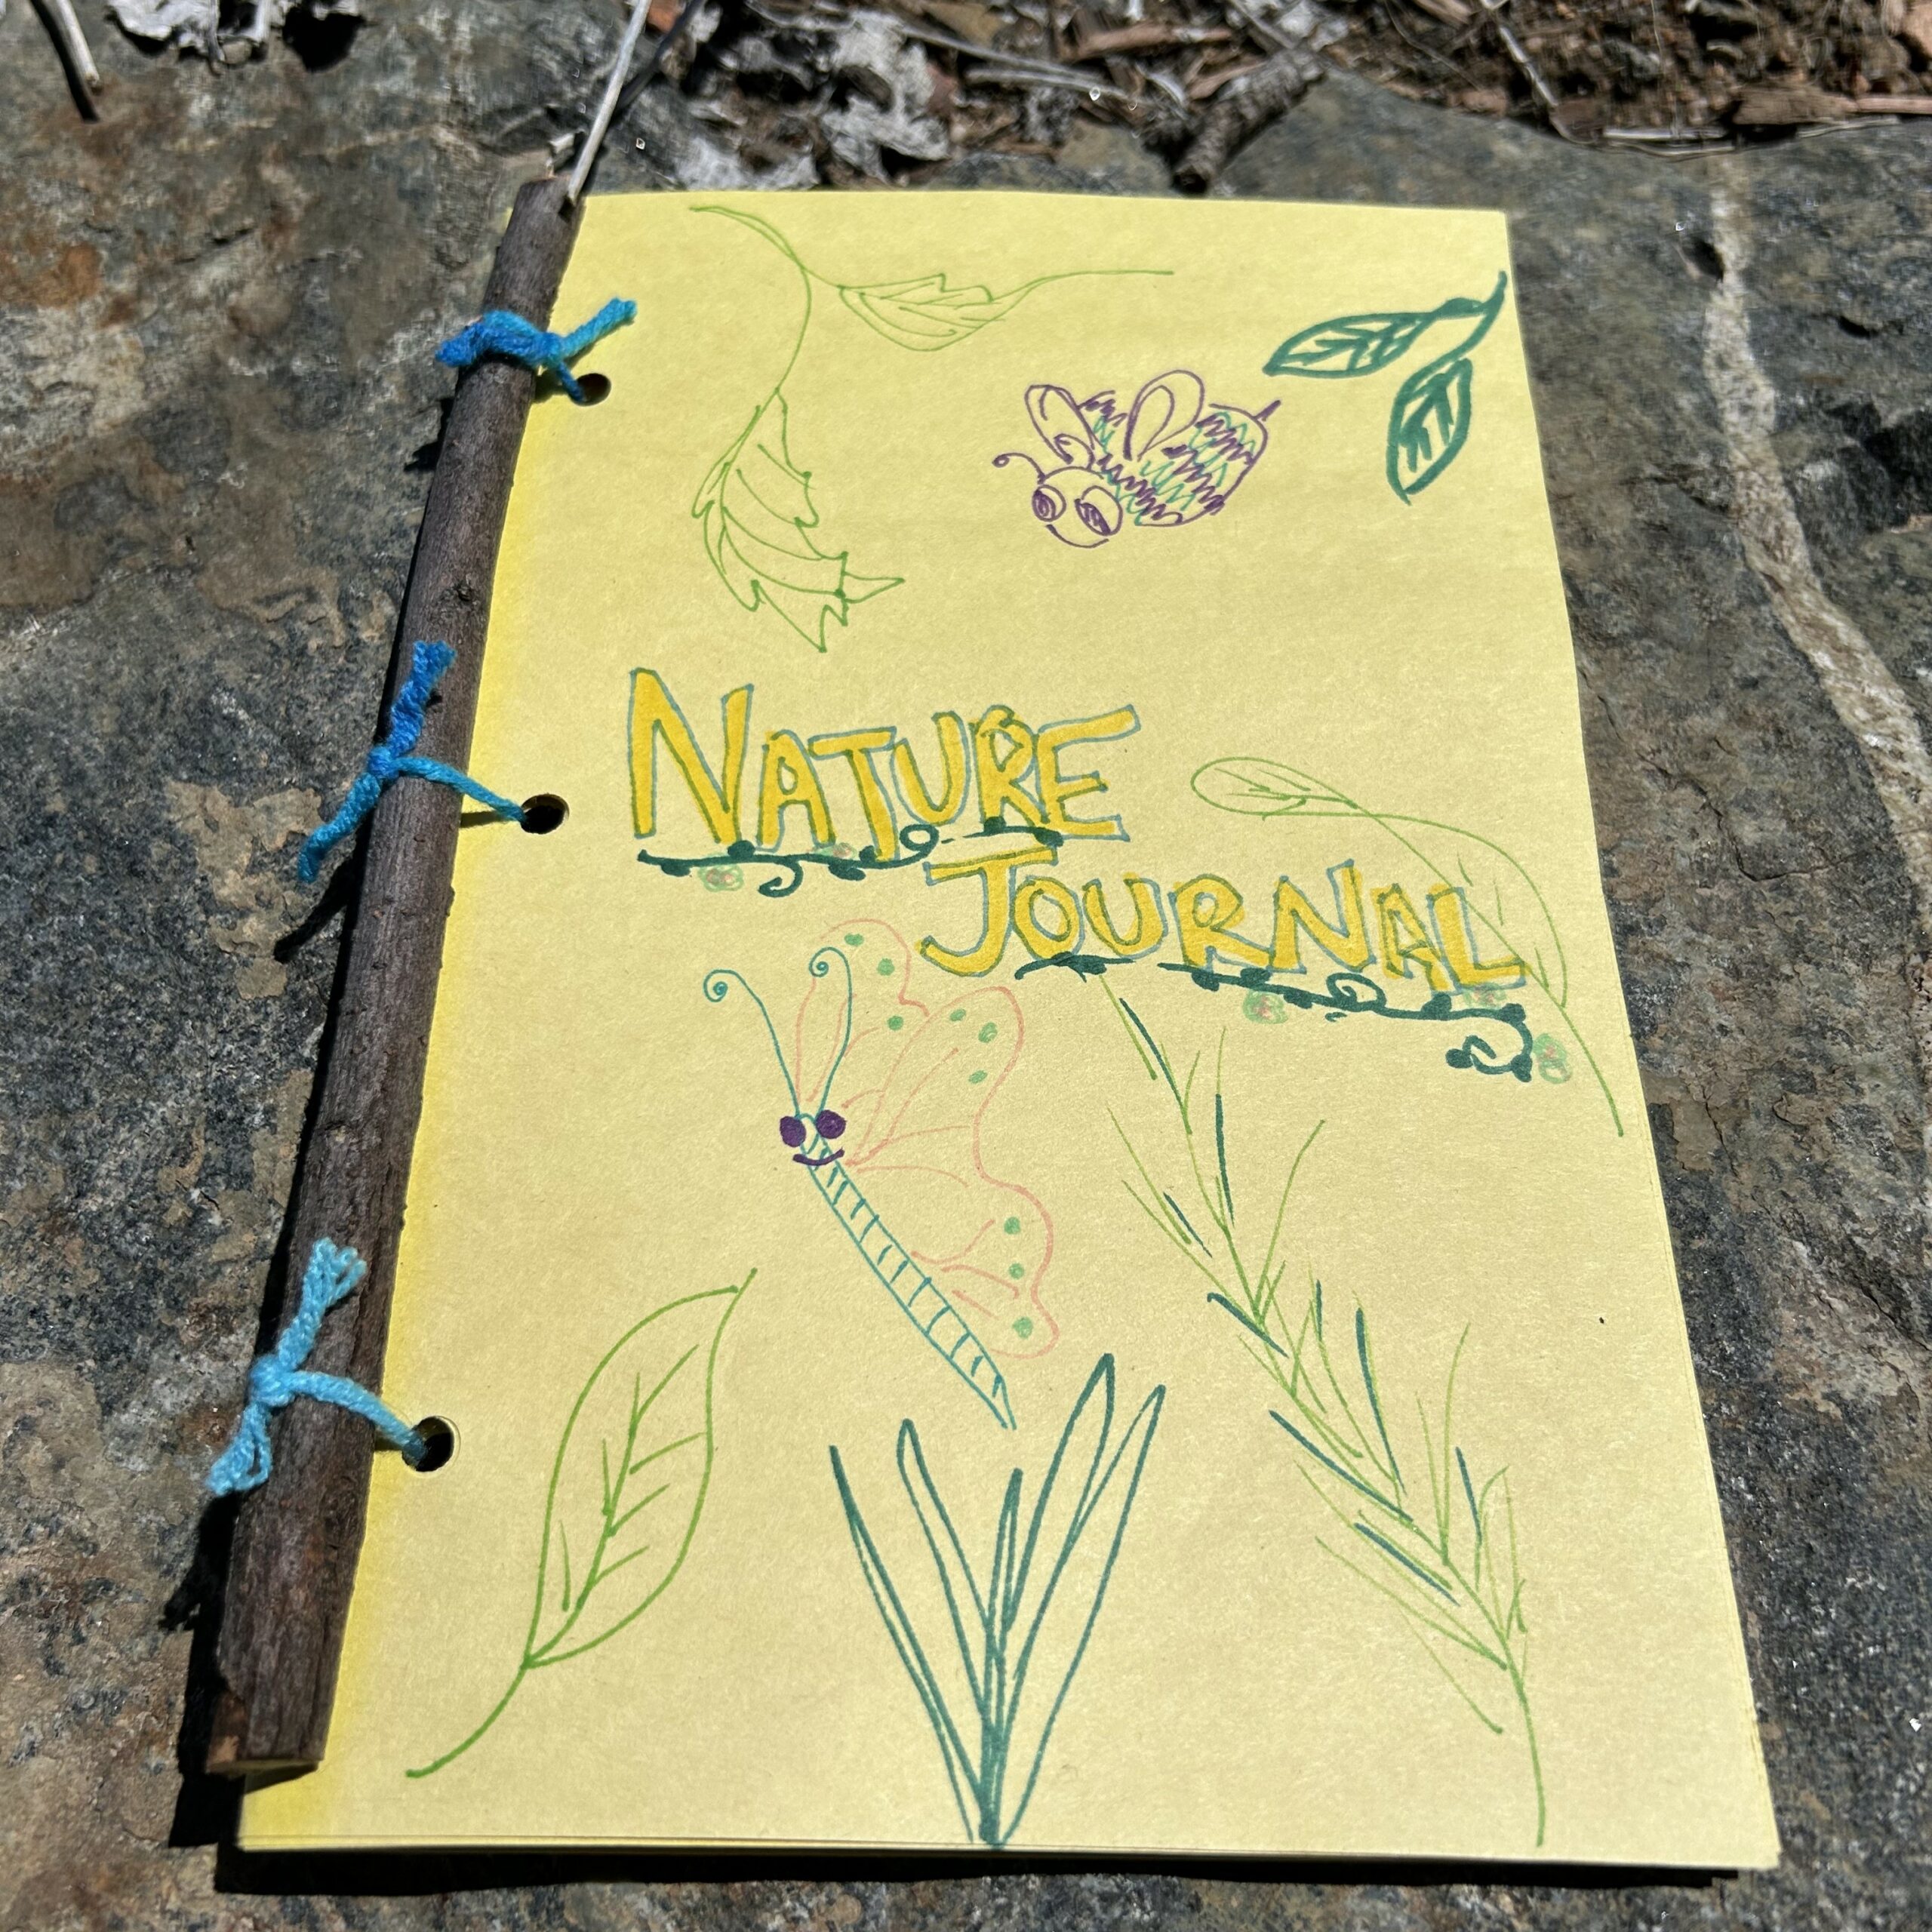
This project is a great way to engage your child and learner by constructing a book that is all their own—from scratch! Through writing or sketching, you can use this to turn their focus to the natural world around them. Nature journaling can help slow our minds and bodies, as well as reflect on ourselves.
Materials List: plain or colored paper, hole puncher, yarn or rubber bands, stick (optional)
Instructions: Fold four to five pieces of paper short ways, to create the pages. You can choose to use a different colored paper as the cover. Next, punch two holes along the folded side of the journal. Thread a rubber band or a piece of yarn through both holes and tie on a stick. The stick will act like the binding of a book. If you forego the stick, tie the yarn or rubber band to itself, making sure it’s loose enough to allow the pages to turn. Kids can then decorate the cover with nature-inspired drawings, collages, or whatever they want.
Some ideas to get your journal started:
- Record leaf shapes by rubbing their patterns with crayons.
- Do a silent walk, then sit to record all your observations.
- Close your eyes, then record all sounds. How many different sounds are there in one place? How can you describe or record the sounds?
- Look in one direction from your feet to the horizon, record all the colors. How many are there? How many shades are there of one single color, like brown?
- Follow an ant and draw a map of where it goes.
- Imagine you are a cloud. What do you see as you look down at your neighborhood? Draw what you would see. What would you say to the other clouds?
Activity #2: Explore Patterns by Making a Flower Suncatcher
Introduce principles of foraging or harvesting, as well as light and color, by making a sun catcher with found nature items. When picking your flowers or leaves, talk with your child about not taking too much from one plant or area, and instead take a little from several places to minimize impact. Our campers have found that small leaves or petals work the best for creating flat-laying art.
Materials list: small flowers, petals, thin leaves, etc., transparent sticky contact paper or wax paper; scissors, tape, hole punch (optional), string (optional)
Instructions: Cut two small pieces of unpeeled contact paper into your desired shape (circle, square, etc). Peel one piece, then tape it onto a flat surface, sticky side up. If you can’t find clear contact paper, you can also substitute wax paper then seal it with a low temperature iron.
Use your found nature items to create patterns, pressing them into the sticky paper surface. Kids can use this time to investigate patterns with color, symmetry, and shapes.
Once complete, finish off your sun catcher by placing another piece of contact paper over the top (sticky side down, creating a sandwich with sticky sides both facing in).
Press the sun catcher as flat as you can. Finish by cutting any excess from the edges.
You can display the sun catchers by punching a hole and threading it with string. If you prefer, you can also tape them directly onto a window.

Activity #3: Imagine New Animal Adaptations with Creative Critters
Animals have different adaptations (or “superpowers”) that help them to survive in their habitat. Whether it’s sharp talons that owls use to hunt their prey, specialized teeth that deer use to strip and chew leaves, or the coloration that skunks use to warn predators, an animal’s adaptations reveal things about its life history.
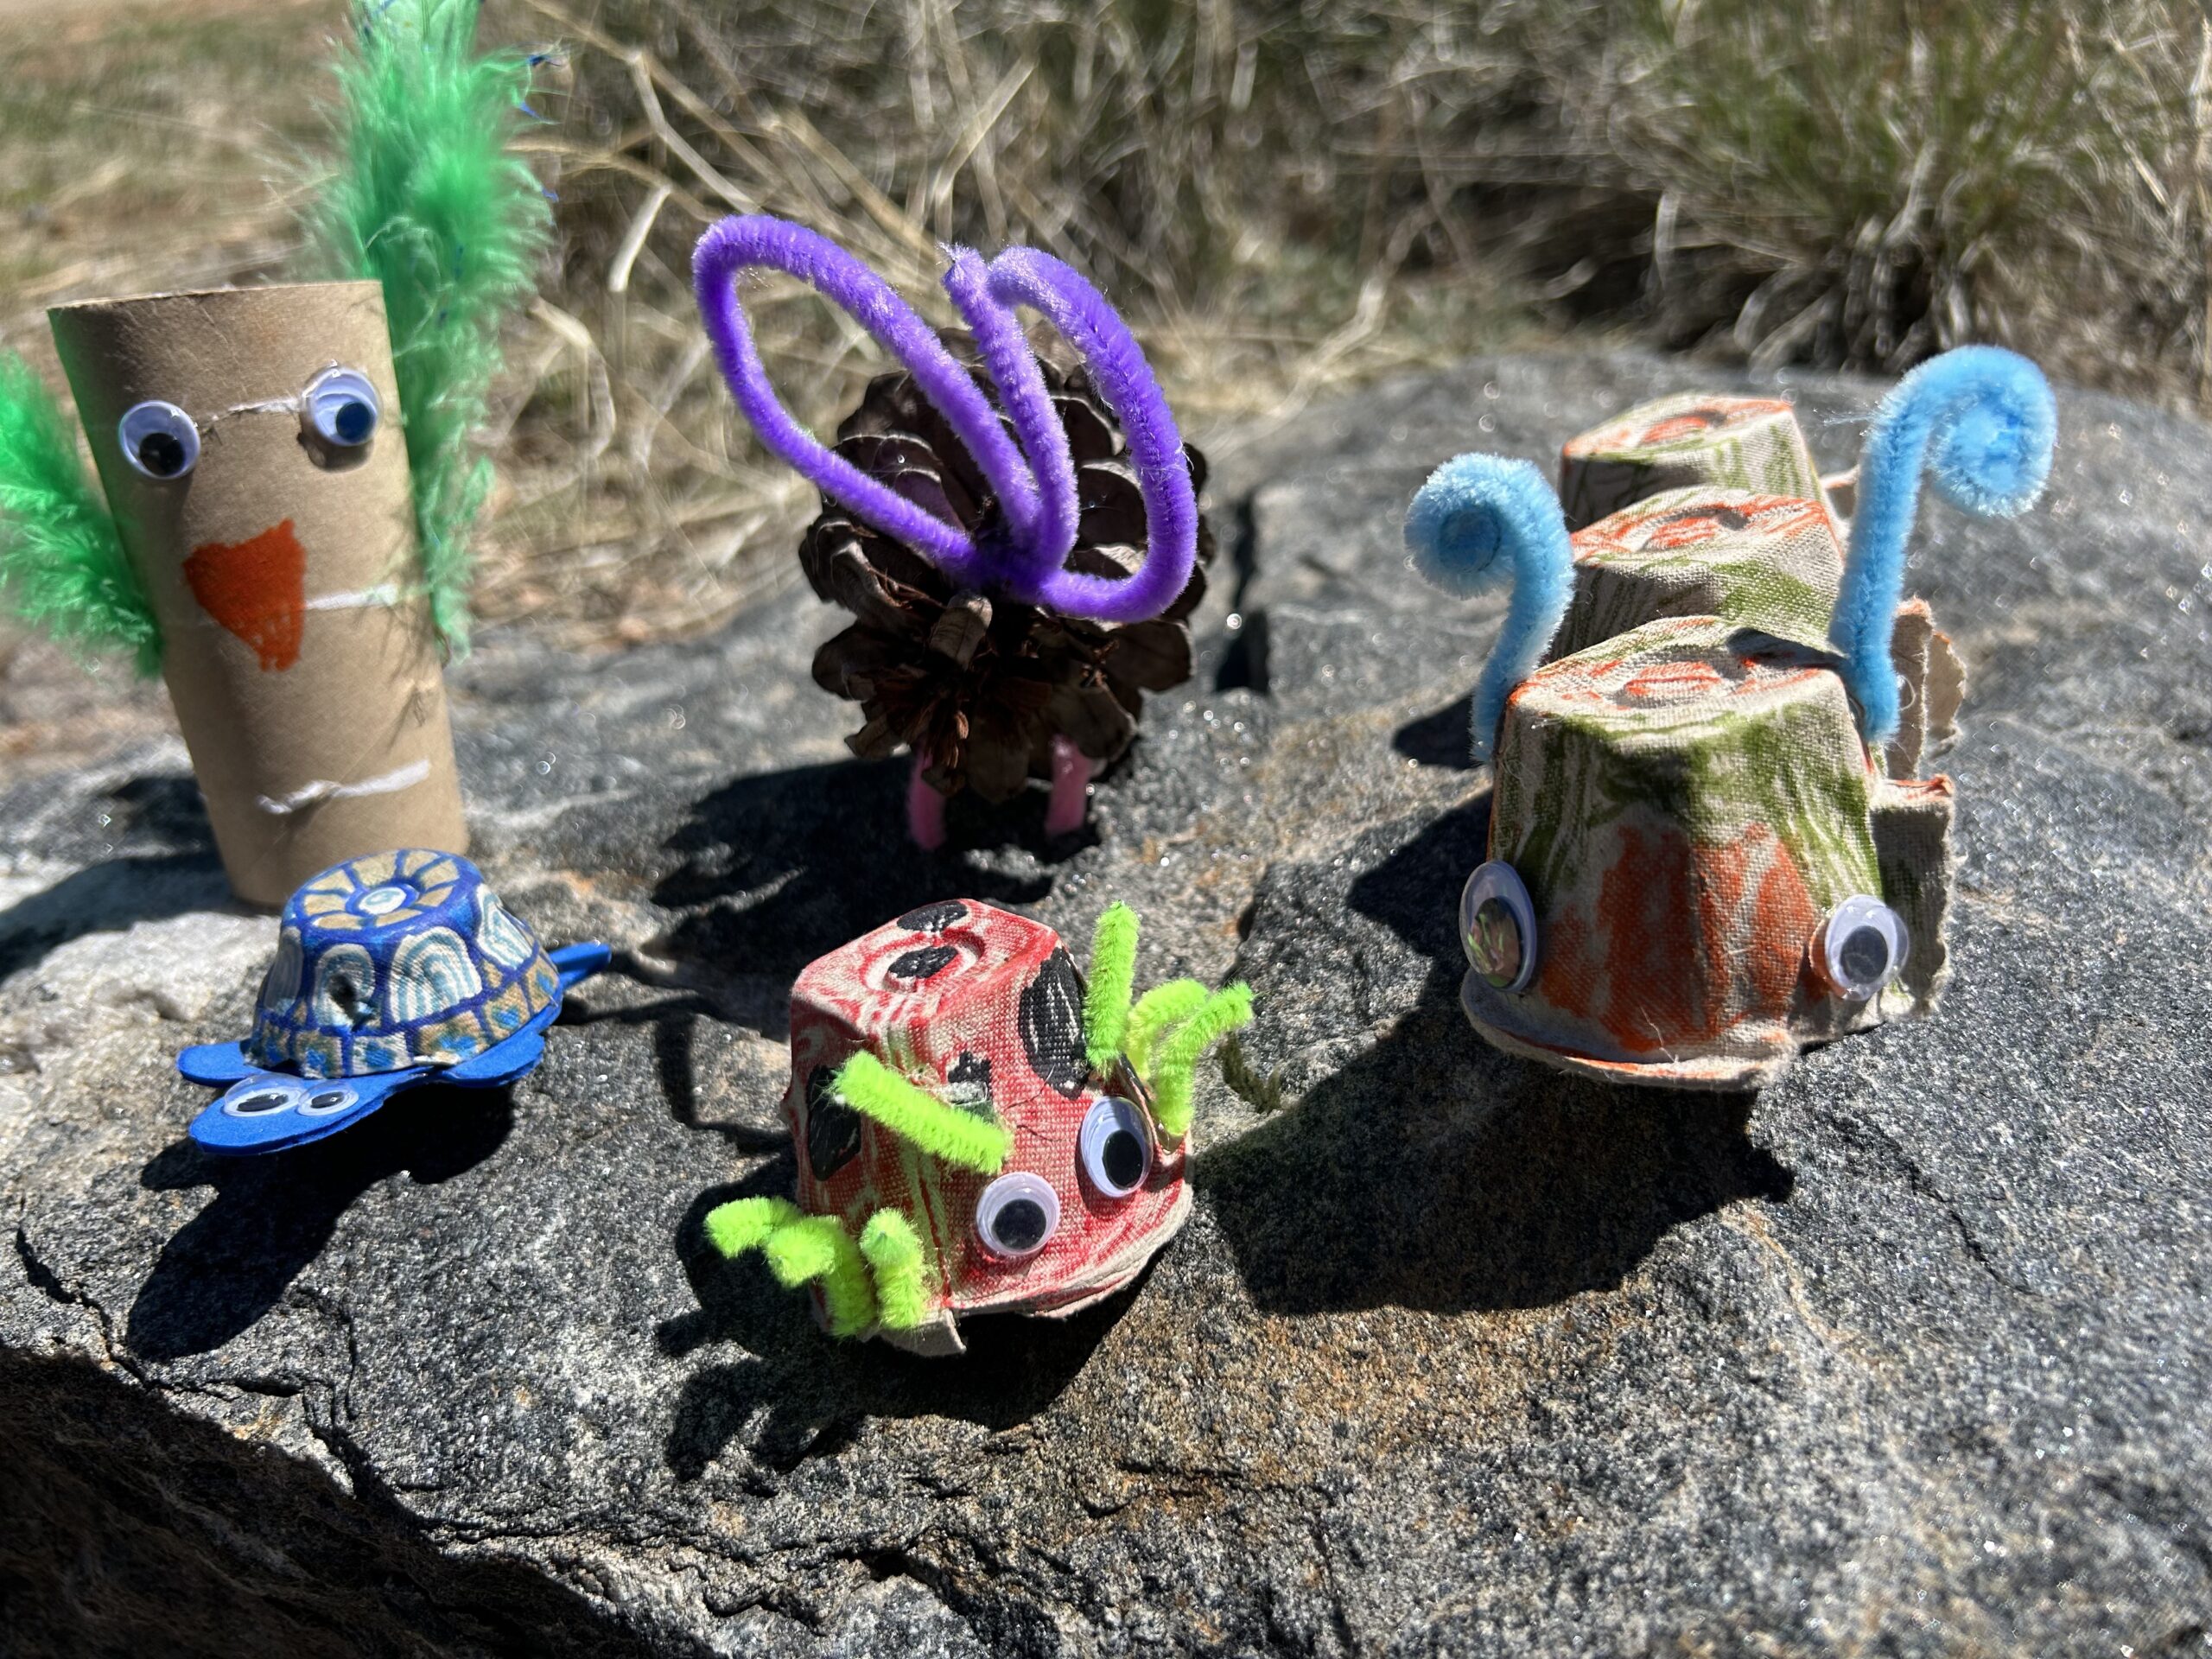
Materials List: Whatever craft material you have on hand. Some suggested items include paper tubes, egg cartons, small rocks, pinecones, feathers, leaves, googly eyes, colored paper, scissors, glue, tape.
Instructions: This craft is intentionally open-ended, using whatever recycled or natural materials you have on hand to design and create your own animal. You can encourage further creativity by challenging kids to add a special superpower to help their critter survive, either based on real-life or imagined. Turn a toilet paper roll into a bird, use a piece of an egg carton and string to make a jellyfish, or create your own porcupine using googly eyes and pinecones. Go wild!
Activity #4: Examine Birds with a Pinecone Seed Feeder
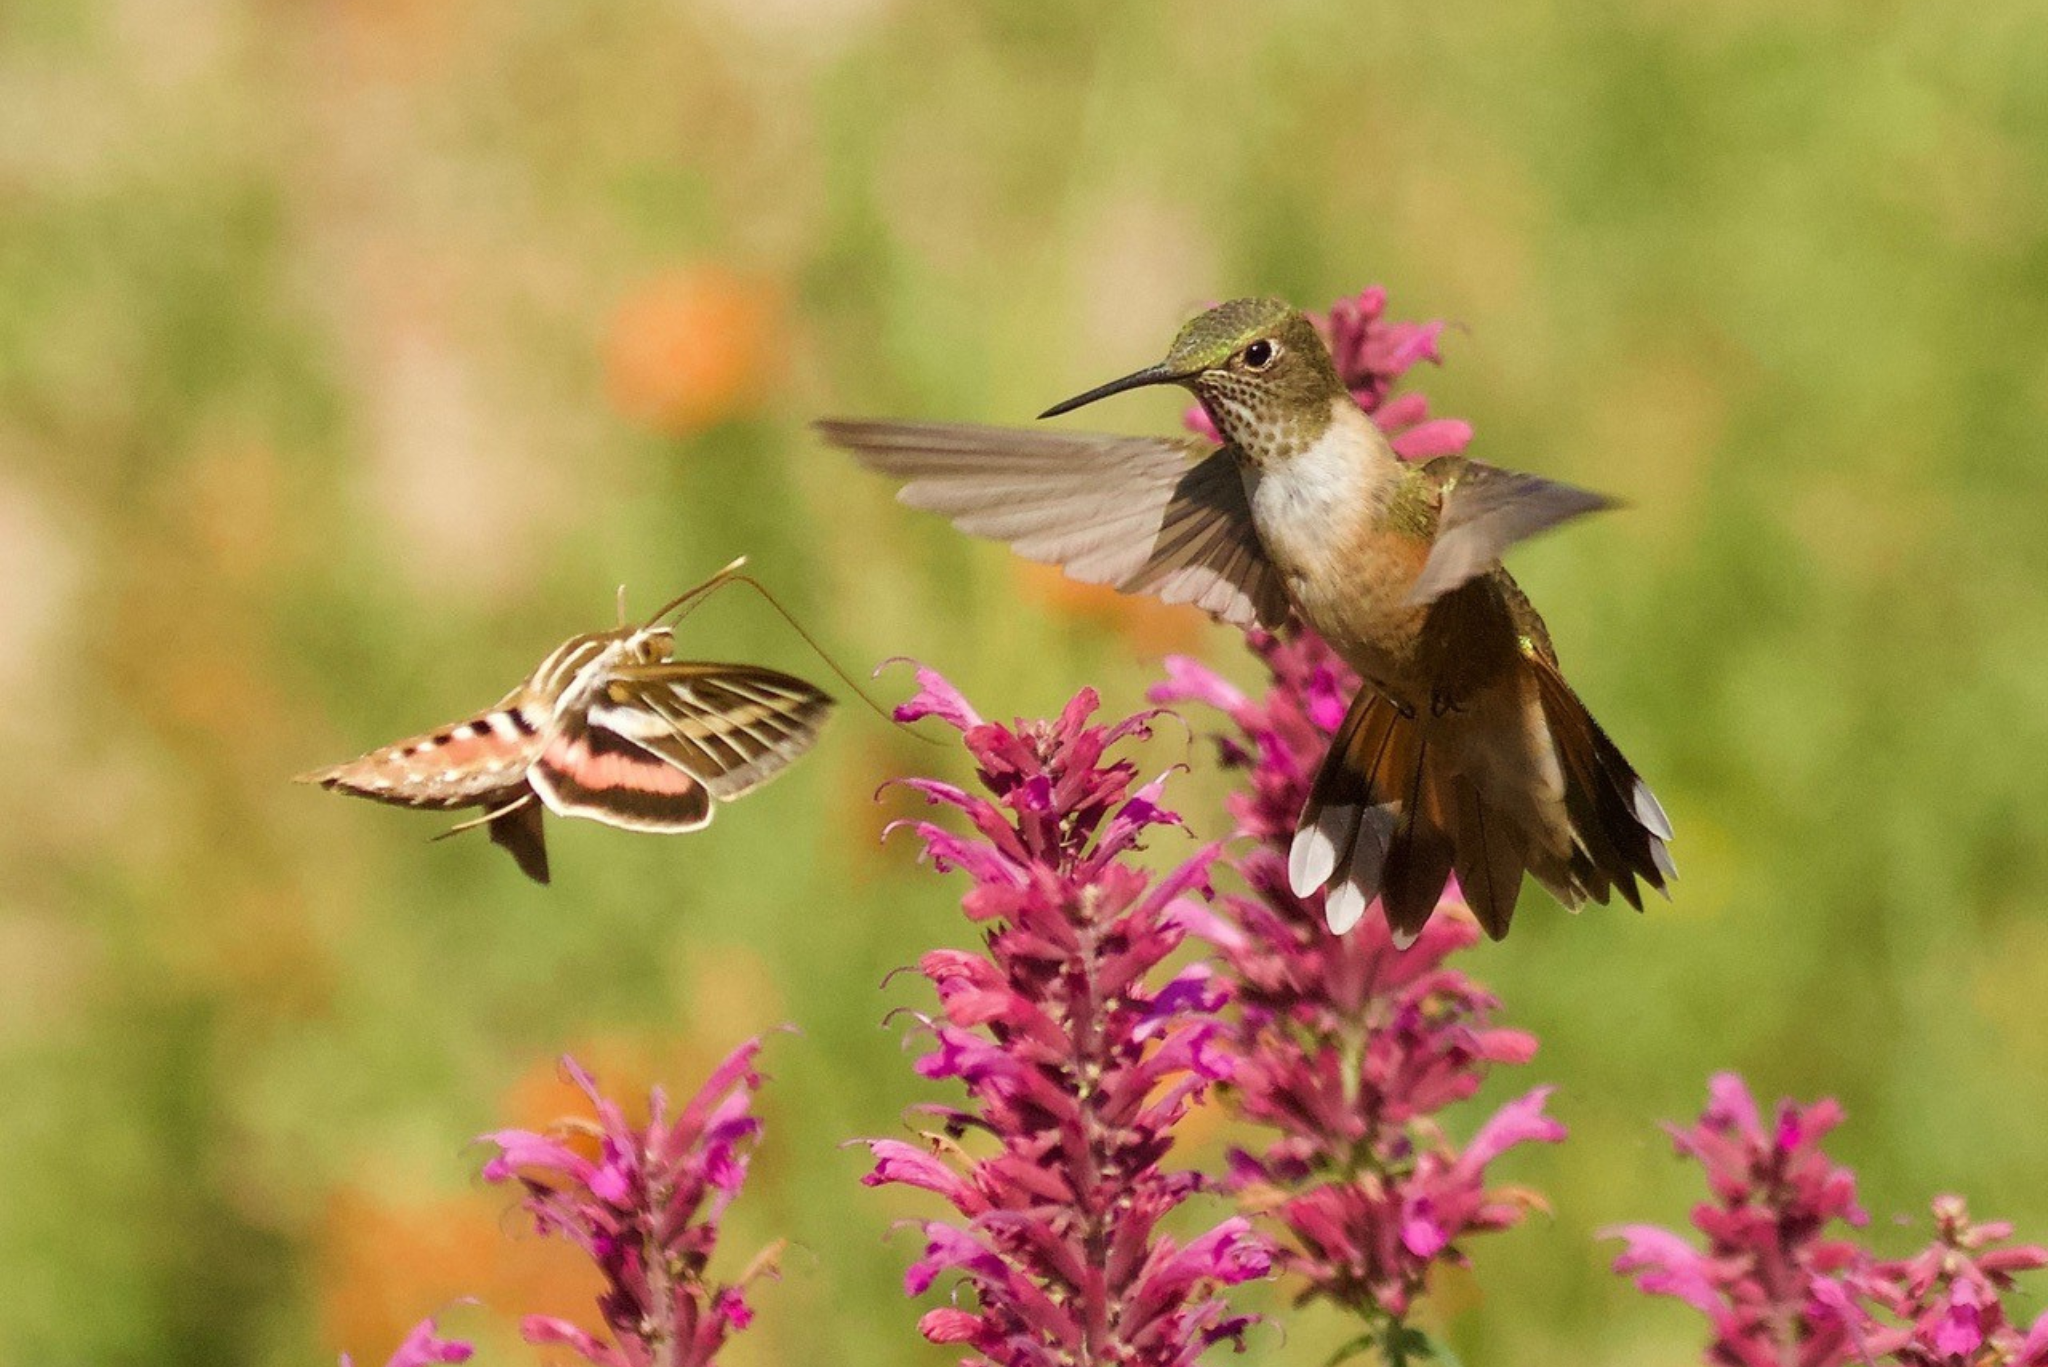
Our campers enjoy this fun, hands-on craft that can hang outside your window and attract birds to your home. Promoting conservation and caring for wildlife is an excellent way to develop empathy and deepen relationships with nature. Once you start noticing birds visiting the feeder, see if you can identify local species using a field guide or free app like Audubon or Merlin Bird ID. We recommend doing this activity on a cooler day, or indoors, which will help the nut-butter base stiffen and be less messy. You can also put the finished product in the fridge or freezer to firm up.
Materials List: Pinecones (or paper tubes); birdseed; yarn or hemp string; nut butter or lard; spoons; plate or tray.
Before starting, clean the pinecones of any large debris. Next, tie a string around the middle or top. Use a spoon to spread nut butter or lard evenly over the cone and in the spaces between the pinecone scales. Lastly, roll the sticky mess in a tray or plate filled with bird seed, using a spoon or your fingers to press the seed in. You can put your pinecones in the fridge or freezer to solidify.
When you hang them outside, place the feeders nearby sturdy perches, such as in a bush or trees with nearby branches. We recommend using a hemp or natural string that will degrade over time, minimizing clean-up and impact on the environment.


